STEP 1: CHOOSE A BOARD
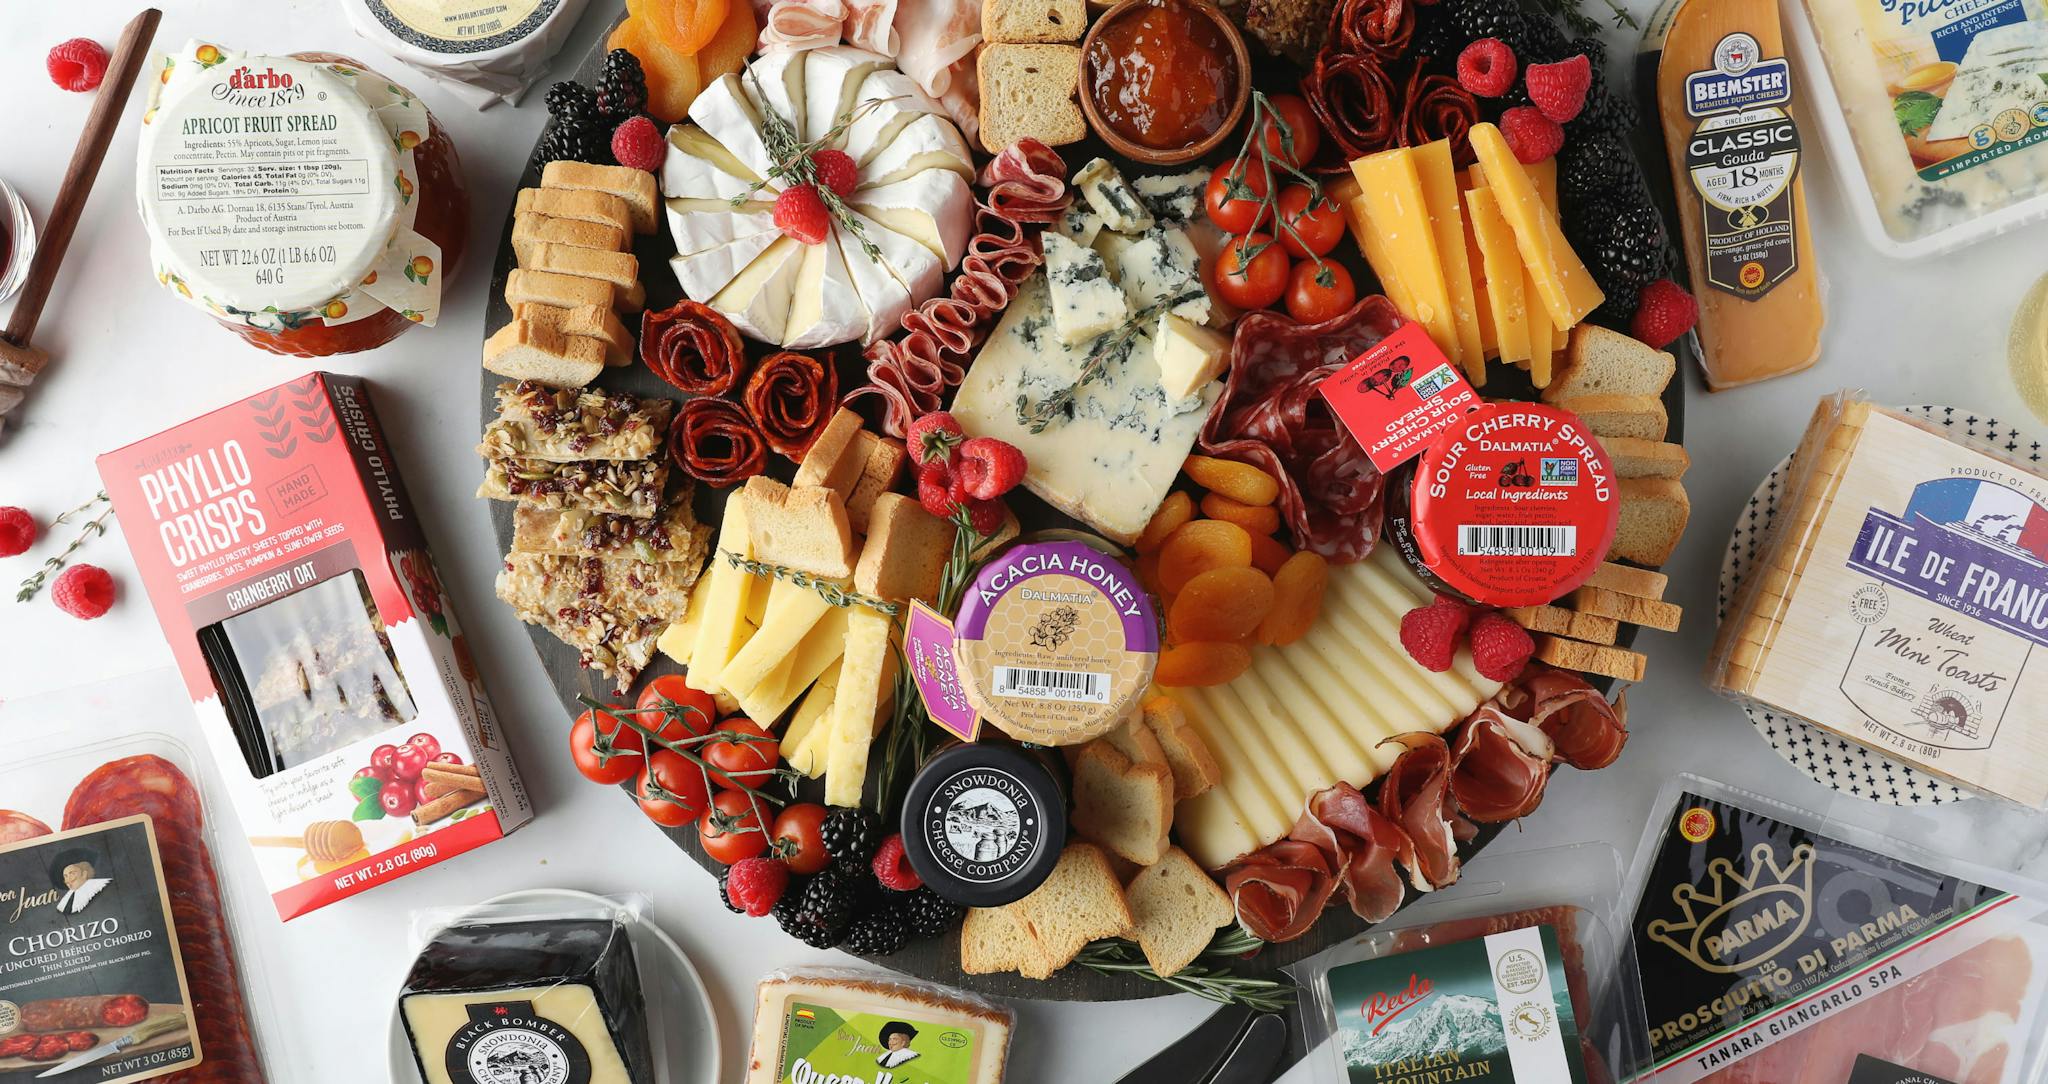
Pick out the board you would like to use, I prefer wood cutting boards as they add a rich contrast to lighter cheeses. But any large platter will work. Usually about a 9” X 13” to a 12” X 18” should be a good size for a party of 5 to 6.

STEP 2:
PLAN OUT THE DISPLAY
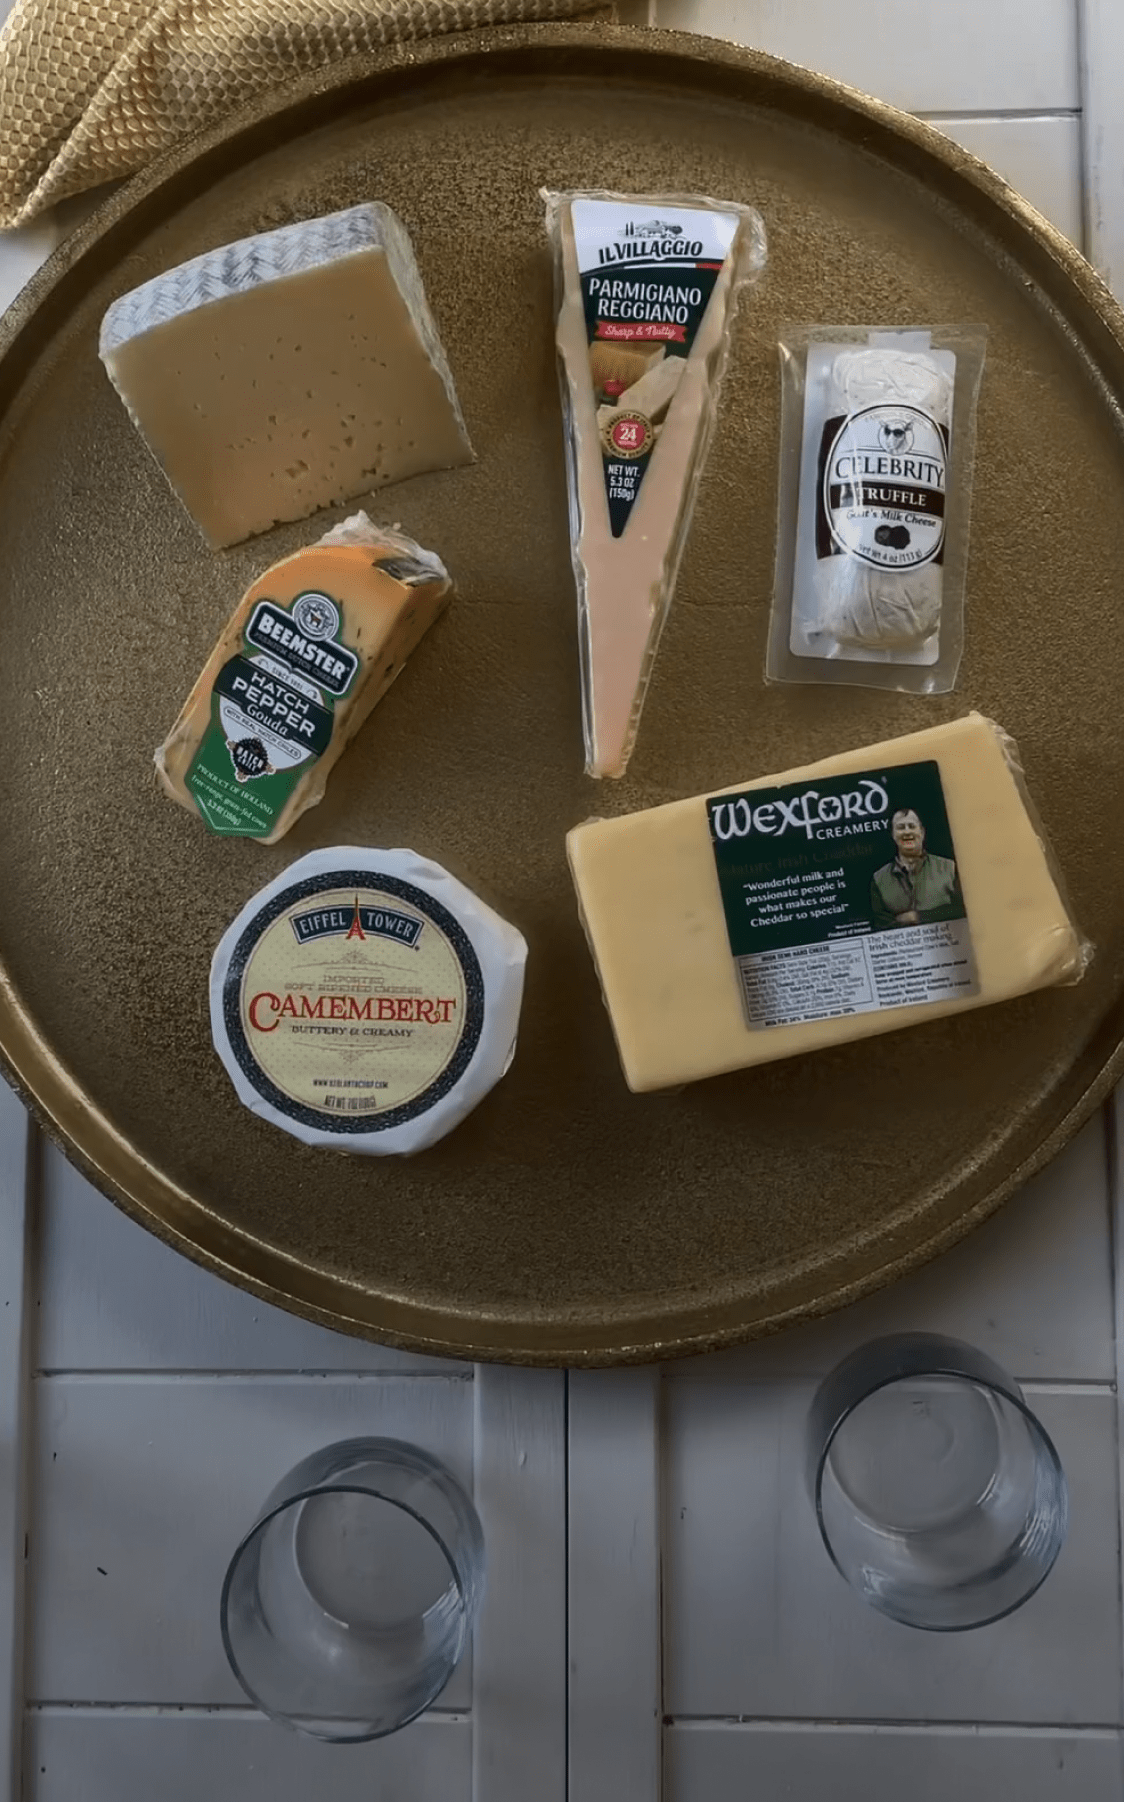
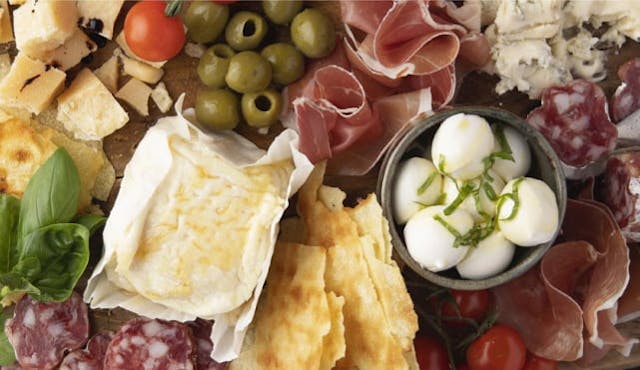
Not all boards have cheeses individually cut, but most do as it is easier for guests to enjoy. If you are cutting your cheeses into individual shapes, there are so many different shapes you can choose from. Medallions, butter pats, picks, triangles, matchsticks, cubes, etc.
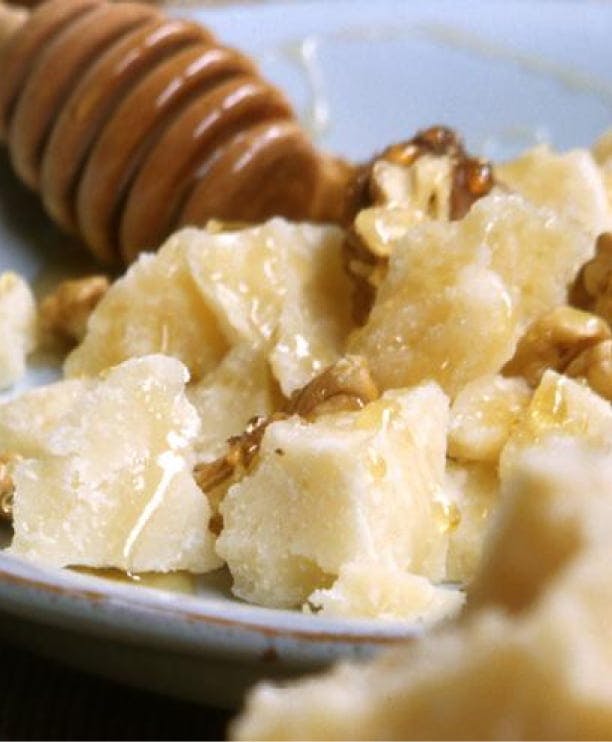
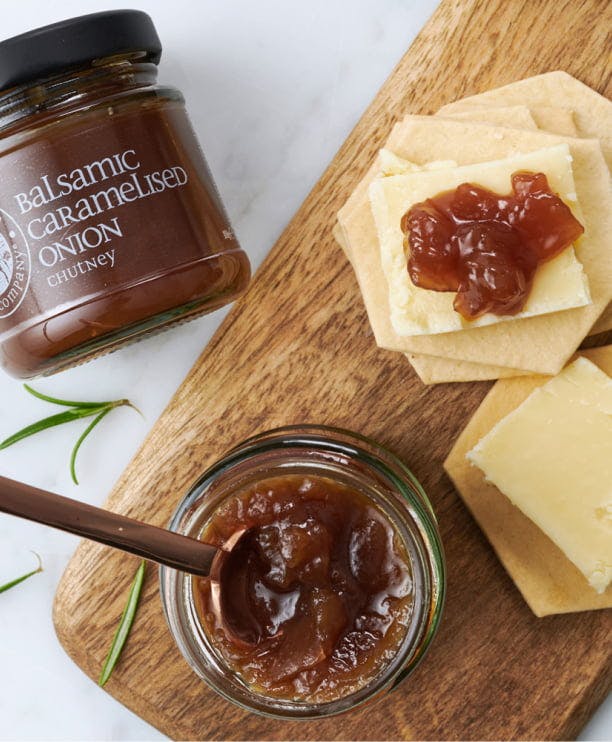
For goat log cheese, medallions or half-moon shapes are a great option. Semi soft and firm cheeses are great for triangle cuts, matchstick cuts, butter pats, and cubes. Hard or Aged cheeses are a great option to chunk and crumble with a cheese pick.


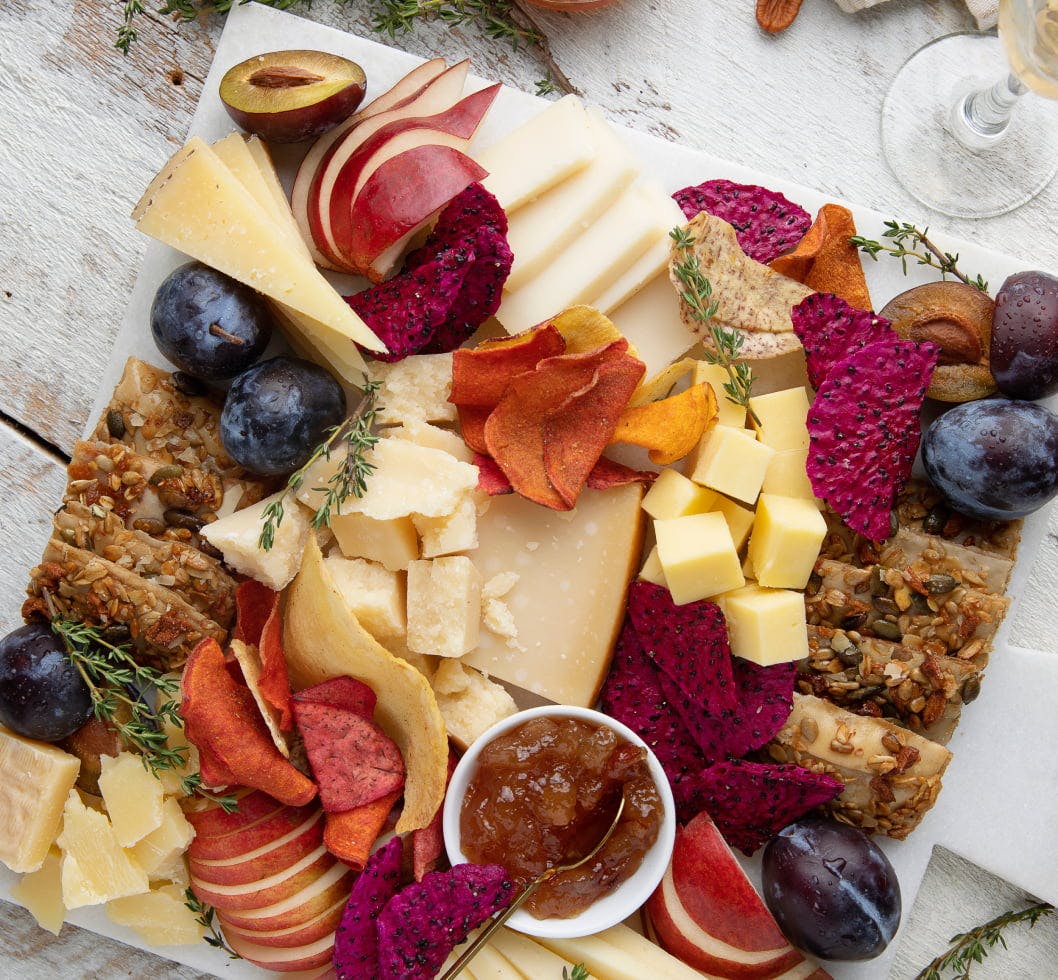
STEP 3: ACCOMPANIMENTS
PRO TIPS
Estimate about 2 oz per person. Increase to 3-4 oz per person if serving as a main course.
Take cheese out of refrigeration 30 minutes before plating to reach room temperature. Cut soft cheeses first, then harder cheeses, then blue cheeses.
Thin-sliced meats are easier to handle when cold.
Provide separate knives or tongs for each cheese.
Identify your choices with cheese & charcuterie markers.
